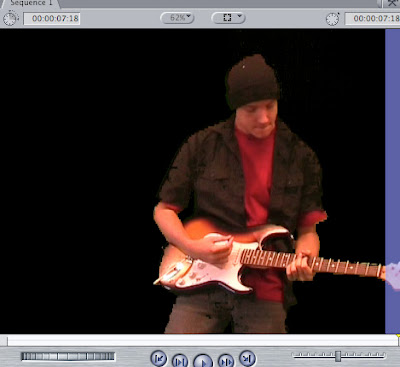
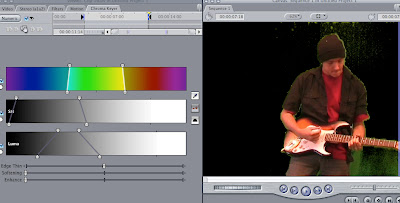
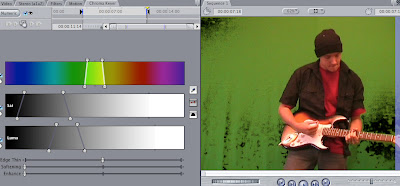
To achieve this affect, I clicked on Effects, then Video Filters, then Key and then Chroma Keyer. This then came up with a tab named Chroma Keyer. I used the ink blotter to click on a colour from the green screen. After that, I altered the slides named Chroma, Sat and Luma. I could also have used Edge Thin, Softening and Enhance and altered them, but this would have created the unnecessary effect.
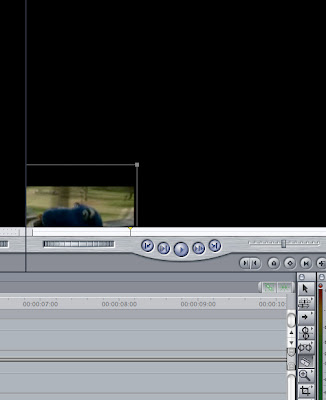
To achieve this, I clicked on the button with the diamond in it, then I went onto View, then clicked on Image and Wideframe. After doing this, I moved the image in the box on the ride and changed the shape of the picture. Playing this through showed the box moving and decreasing in size.
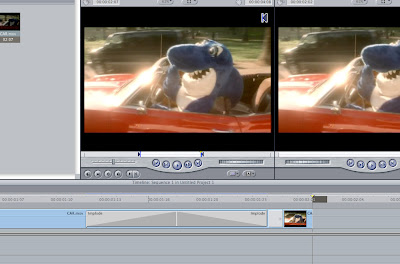
To create a transition, I highlighted the area between where I cut. I selected effects, then video transitions, then Quicktime and then final implode.

This is an image to prove that I know how to cut. I selected the appropriate footage and used the razor tool to cut the appropriate footage. After that, I highlighted the unwanted footage and pressed delete to get rid of the unwanted footage.
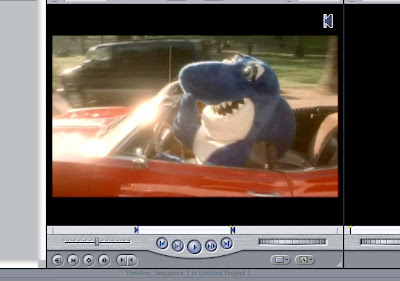
This is an image of how I selected the footage of the video that I wanted. I played the footage until I got the start of the footage that I wanted. I pressed the button which looks as though it means to skip a chapter in a film and then I pressed the button which looks as though it means to rewind a chapter in a film, selecting the appropriate footage.
No comments:
Post a Comment